How to Make Your Raised Bed Garden on Uneven Ground: A Step-By-Step Guide

Gardening is one of the most popular recreational activities people enjoy worldwide. However, many find it challenging because their yards are on slopes or uneven ground. But, that shouldn't prevent them from enjoying the joys and benefits of gardening. For those with slopes or uneven land as their garden area, raised bed gardening can be a complete game changer.
Raised bed gardens on slopes are quite practical and don't require as much effort or resources as other gardening techniques. Moreover, there are several ways to build one on uneven terrain.
These methods are quite simple, but without the proper guide, you risk making mistakes that will cost you and your garden dearly. So, to help you create the finest raised bed garden, in this article I've included easy-to-follow step-by-step guidelines. As an added bonus, I've also added a few bits of information that can come in handy.
The Benefits of Raised Bed Gardening on Uneven Grounds
Before we get started, let's take a closer look at why raised gardens are preferable to other forms of gardens for gardening on uneven terrain. If the only space you have for a garden is a steep slope or jagged area, choosing gardening methods such as in-ground gardening can be quite expensive and difficult. As you have to change the whole surface topography and make the ground level. This requires a lot of effort, money, and resources.
However, with raised gardens, you just need to level the raised garden beds rather than the entire area. This can help you save tons of money and make your garden more readily customizable. But that’s not all that raised gardens have to offer. In addition to saving money and easy customizability, you also obtain the typical advantages of raised beds including:
- Keeping insects and unwanted critters out of the garden.
- Having a better drainage system. It can be challenging to install a proper drainage system in a garden that is built on a slope since water will run from the upper to the lower side of the beds, leaving the upper side dry and the bottom side damp and soggy. With raised beds, you can easily level the beds and have a proper drainage system installed.
- Prevents soil erosion. Raised garden beds are absolutely ideal for slopes because they keep the soil contained in the frames of the beds and prevent soil erosion. And, if the soil in the garden is polluted or unsuitable for planting, this also reduces the chance of contamination.
- Having fewer perennial weeds, crabgrass, and other invasive species infestation.
- High moisture retention.
- Zero-to-no chance of soil compaction.
- Good for people with movement disabilities.
- Extends the growing season.
- Minimal maintenance.
Building A Raised Bed Garden on Uneven Terrain
Now that we know why raised bed gardening is so good on the slope or jagged areas, we can now move on to building one. Below I have listed easy-to-follow steps that you should have no trouble following.
Planning the Garden Area
Start with planning your garden space. Take into account how steep or uneven your area is, how much space you can spare for your garden, how many raised beds you want, how deep the beds will be, etc. In order to access all sides of the beds without stepping on the soil, you should also plan pathways between the beds. This will lessen soil compaction, and you won't have to bend down or put any strain on your knees or back to reach the farthest corner.

Plan irrigation and drainage as well. Remember that your plants will be water-starved and unable to develop and produce as expected without a healthy watering cycle and system. The roots of your plant may decay and mold may damage the structure if the ground remains excessively wet for a long period. Furthermore, keep in mind that if your location is frequently hit by strong gusts, you might need to invest in wind protection.
To ensure that you don't overlook or forget anything afterward, you should jot down your plans in a notebook. Having a rough sketch of your would-be garden can be useful too.
Choose a Sunny Spot
This one should be a no-brainer. Without an adequate amount of sunlight, your plants won't grow properly whether you are gardening on level land or inclines. The majority of vegetable plants require at least 8 hours of direct sunshine every day to grow and produce their finest fruit, with 6 hours being the bare limit.
However, keep in mind that different plants require different amounts and intensities of light to flourish. So, carefully examine if that area receives adequate sunlight for your plants.
Choosing the Ideal Raised Garden Beds
It's time to choose the garden beds now that you have a sunny location and a rough plan for your garden. Raised garden beds come in a variety of shapes and sizes, and you can modify either one to suit your needs. But you should also think about your financial condition and level of gardening and tool-using experience.
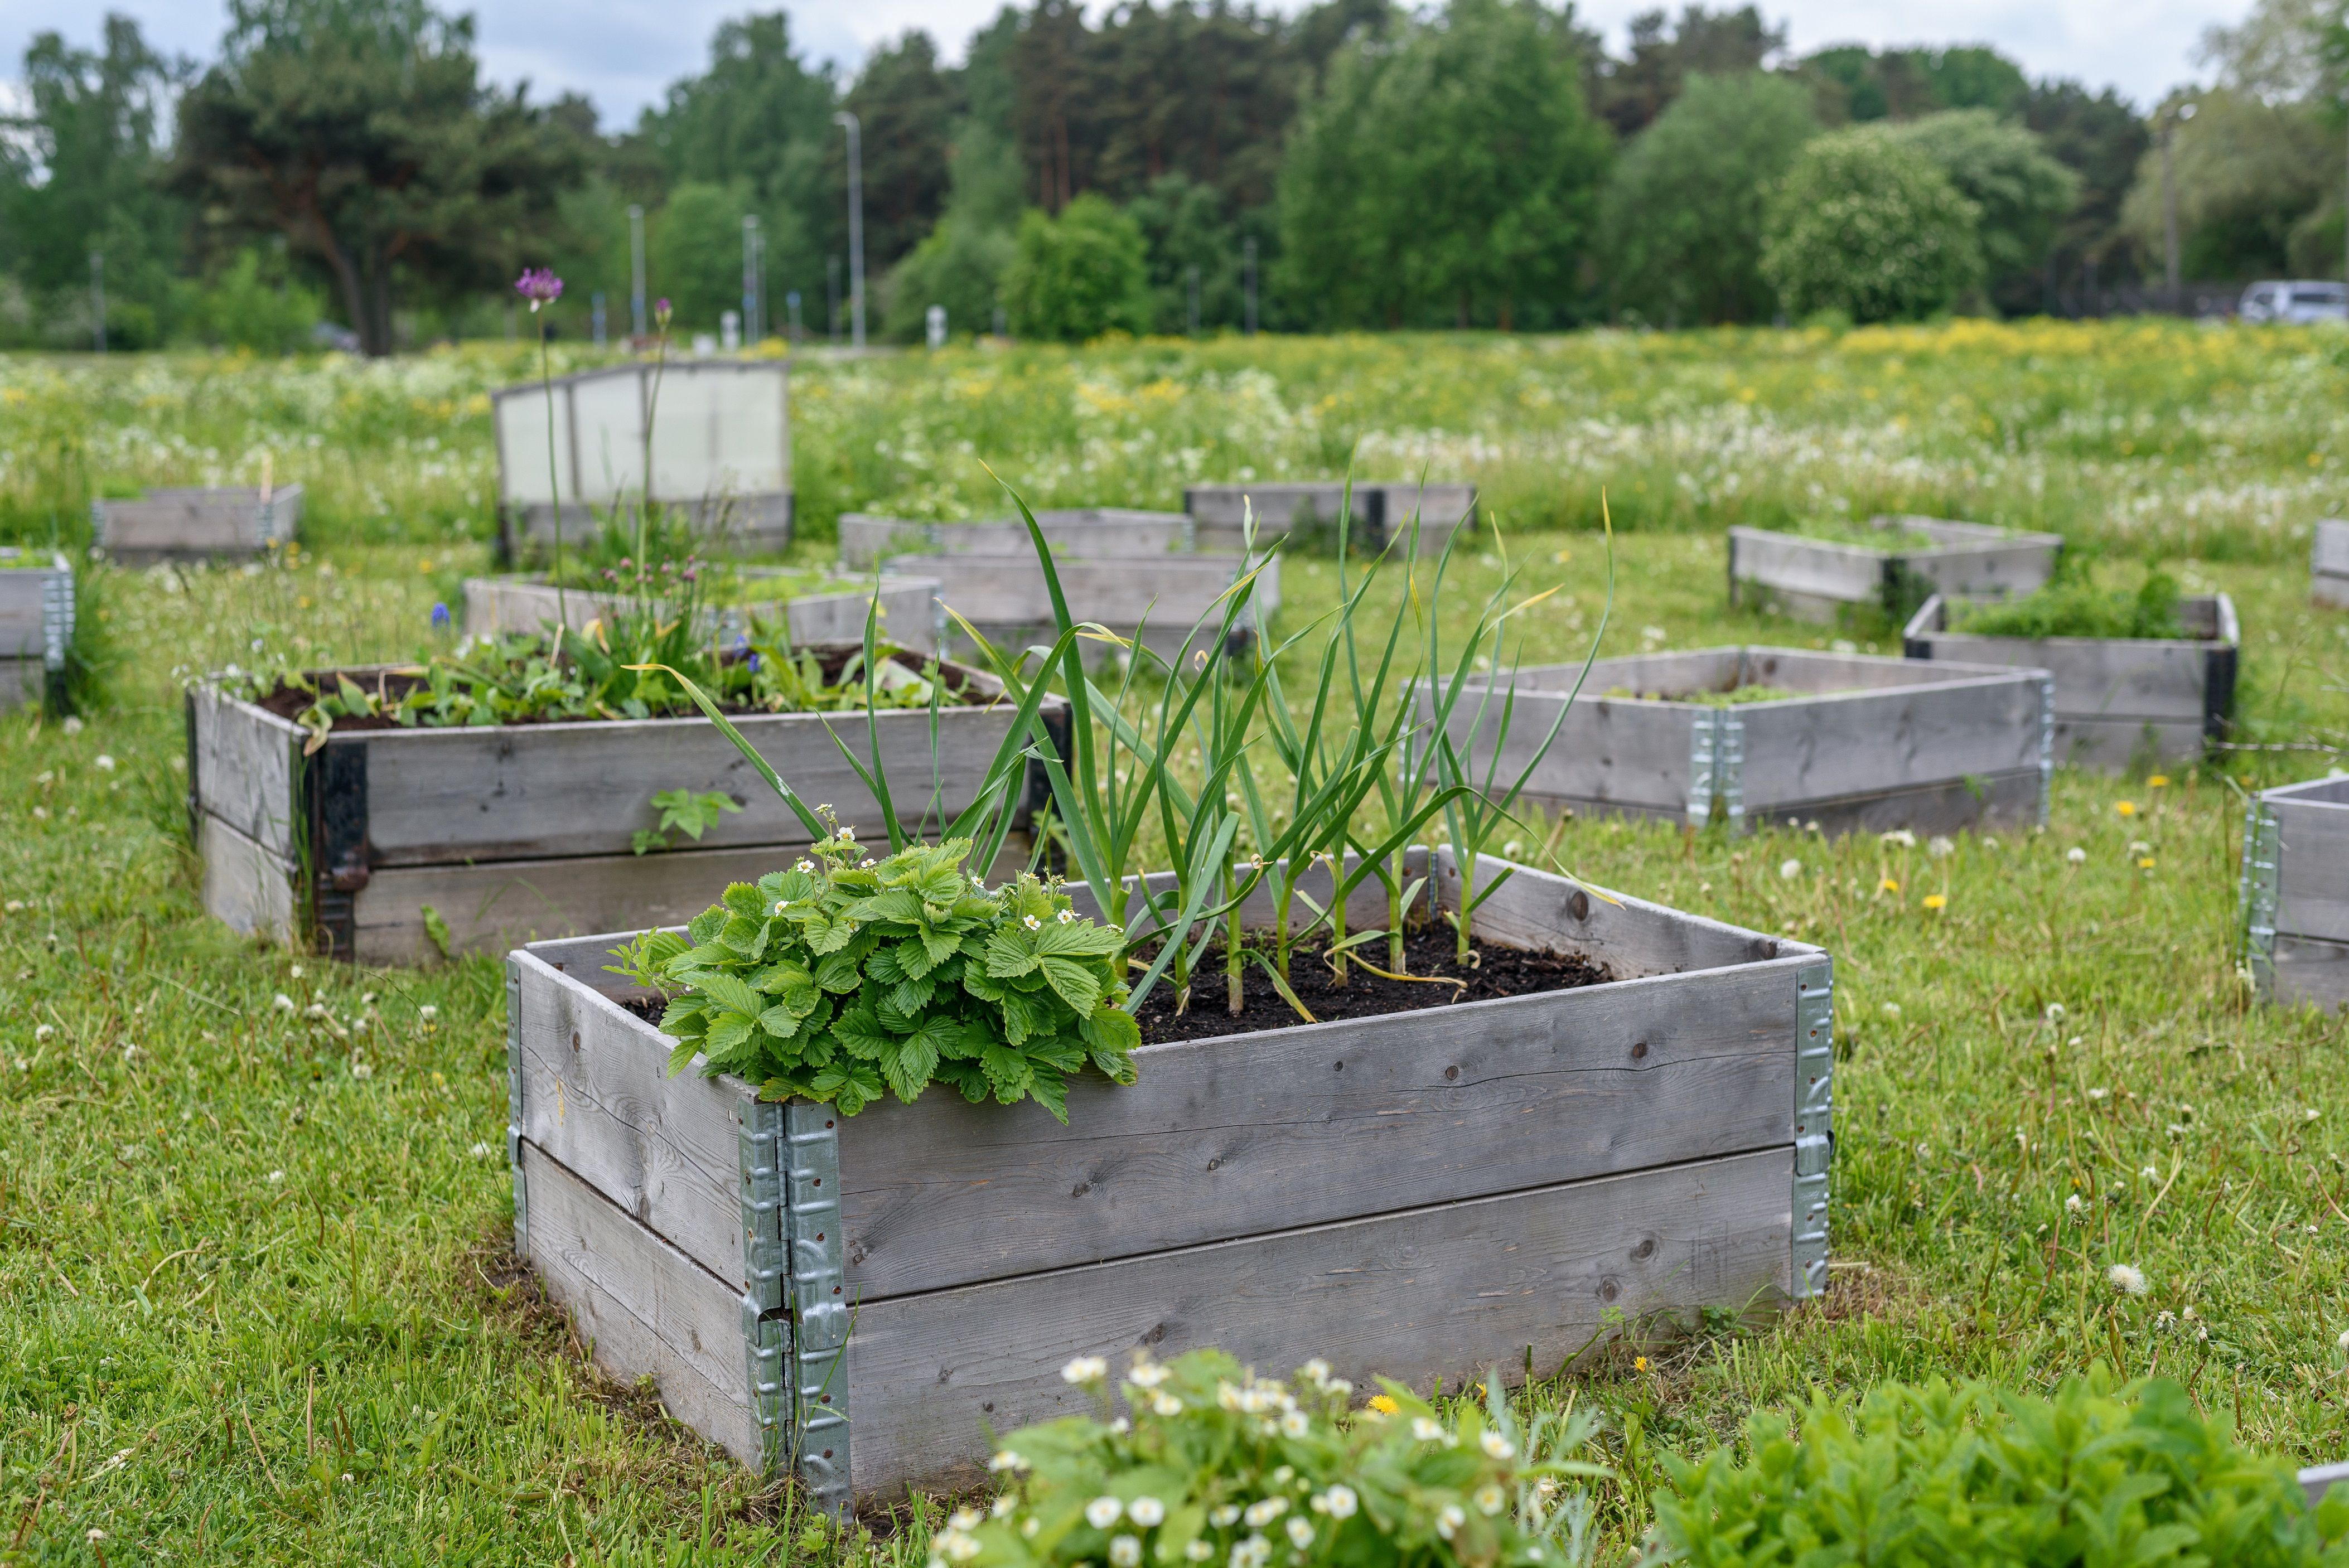
If you're a beginner, try starting with one or two square-shaped raised beds. However, if you want to grow a lot of fresh vegetables, you probably need at least three to five beds.
The cost of these beds will vary depending on their sizes and building materials. Raised beds typically have dimensions of 3 to 4 feet in width and 6 to 8 feet in length, but you can adjust them to fit your needs.
Types of Raised Beds
In your local supermarket, you can find several varieties of raised beds. The most common four are:
- Supported raised beds consist of a pile of soil enclosed by a frame that provides support and is built of metal, wood, or other materials. This is what is typically referred to as raised beds, and it is best for slopes or uneven lands in terms of cost and maintenance.
- Prefabricated raised bed kits are factory-made kits that you can assemble yourself, however, it is not recommended due to the expense.
- Elevated raised beds or contained raised beds are simply big gardening pots. They are similar to supported raised beds but differ in that they have a bottom and are raised above the ground by supporting structures.
- Raised ground beds are frameless, flat-topped heaps of soil that are 7 to 8 inches high. These are perfect if your soil is sturdy and does not erode due to weather.
Now, let's look at the materials you would be using to build the beds. The most common materials used for raised beds are:
- Treated, untreated, and composite wood/lumber.
- Galvanized Metal
- Plastic
- Tires
- Bricks
- Concrete blocks
- Railroad ties
- Stone
As supported wood raised garden beds are fairly affordable, easy to find, and simple to install on slopes or uneven ground, we will concentrate on them in this article. Remember that you would need extra wood and other materials to support and level your raised beds on the slope or uneven ground.
After these initial decisions have been made, create a layout for you garden. This will be helpful in the long run.
Building the Raised Garden Beds
Now let's build the beds.
First, build the beds' frames in the size of your choice. One of the preferred types of lumber for these raised beds is cedar wood. Making a square-shaped 4 × 4 bed frame is simple for beginners, but you can make longer beds if you want. You may use screws or a nail gun to connect the pieces together. L-shaped anchors can also be screwed in to strengthen the frame. To make the beds deeper, you can stack one frame on top of another and join the frames together.
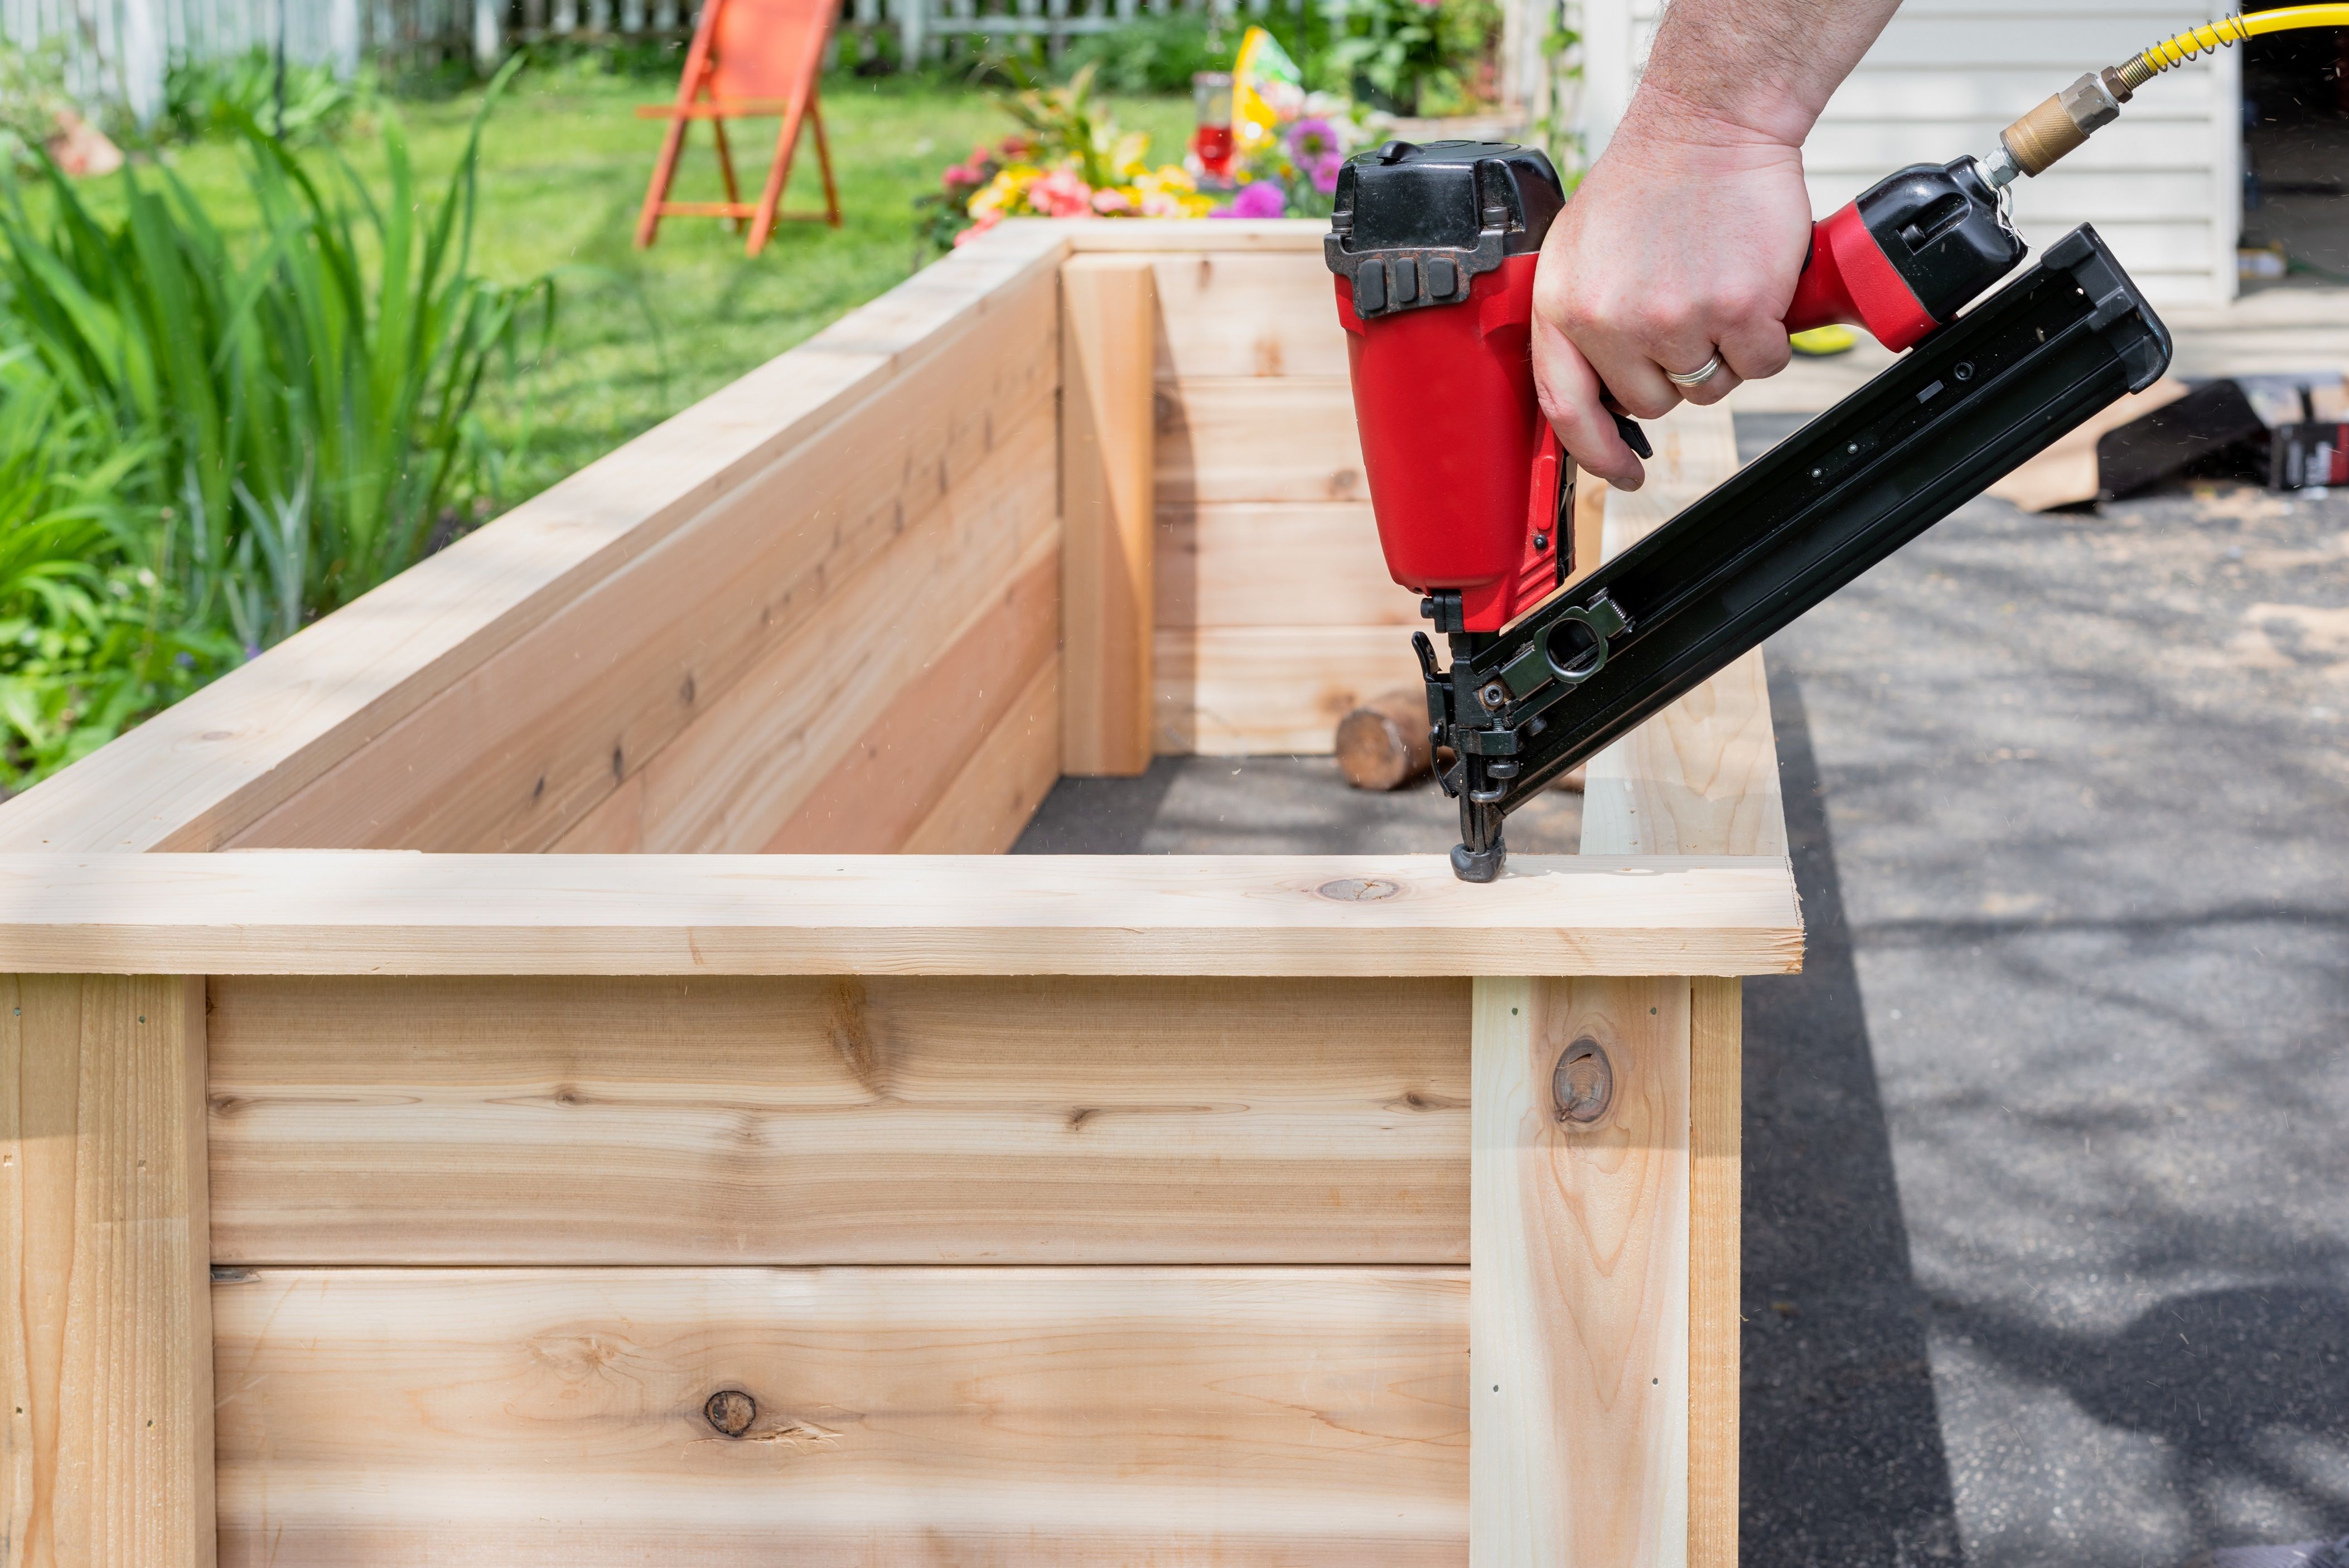
Do not throw away excessive small wood. You can make stakes with them, which you will need later for leveling the beds. Additionally, when constructing the beds, keep in mind the layout of your raised bed design as well as the layout of your sloped garden area. This is essential since you don't want to build raised beds that cannot be modified to level in line with the slope.
Setting up the Raised Beds
Now, put the beds anywhere you like in your garden area. However, remember to keep enough space for a pathway. If you've built a number of smaller beds, you must place them appropriately with enough room between them.
Garden Beds Leveling
This is the most important part of raised-bed gardening on the slope. You can water your wood raised garden beds more easily if it is level. Additionally, if the beds are positioned on a slope and remained uneven,, nutrients along with water will flow to the lower parts of the beds, inhibiting the healthy growth of the plants on the top section of the bed.
Terraforming?
Do you have to terraform the entire garden area to make the beds level? The answer is no. Even when compared to other gardening methods, raised bed gardening requires less digging. If you had chosen to do in-ground gardening, you would have had to excavate the entire garden space for setting up proper drainage and irrigation system, which might have been expensive and time-consuming. Raised bed gardening, however, requires little to no digging beyond placing the supporting stakes in the ground.
Time to Get Your Hands Dirty: Leveling the Beds
But how can you level your beds properly? It’s not rocket science. All you will need is a few stakes, a level, additional wood, screws, or nails to attach the wood and spanners.

After placing the beds on the ground, move to the slope's downhill portion and raise that side of the bed. Use a level to check if that side is leveled or not. If the side is leveled, the level's bubble should be in the middle. If the side is leveled, insert a tiny piece of wood below to keep the end in place. After that, repeat the process, but this time at the top side of the beds. By doing this, the beds would be level throughout their length and width.
However, it is important to inspect the bed from all four sides if it is not on a slope but rather on uneven ground. Now place 4 stakes in 4 corners of the beds, then fasten the bed sides to the stakes using screws or nails. Make sure the stakes are not too short; if you ever wish to raise the height or slightly level the bed, the additional length will be useful. After joining the stakes, you can remove the wood below the beds' sides.
You must now close the gaps leading to the ground on each side. Utilize the extra wood you have and cut the pieces to the appropriate sizes and shapes. It's not complicated; just place the wood on the ground next to the gaps that need to be filled and mark the wood with a marker from the inside. after that, secure the angled pieces to the stake and you are done. Furthermore, if your bed is longer than usual, you may want to add steel or wooden spanners to strengthen the beds.
Add Soil and Soil Amendments
Now that your beds are leveled, you can fill them up with soil and soil amendments. While you can fill the beds with garden soil that is available, doing so is not recommended.
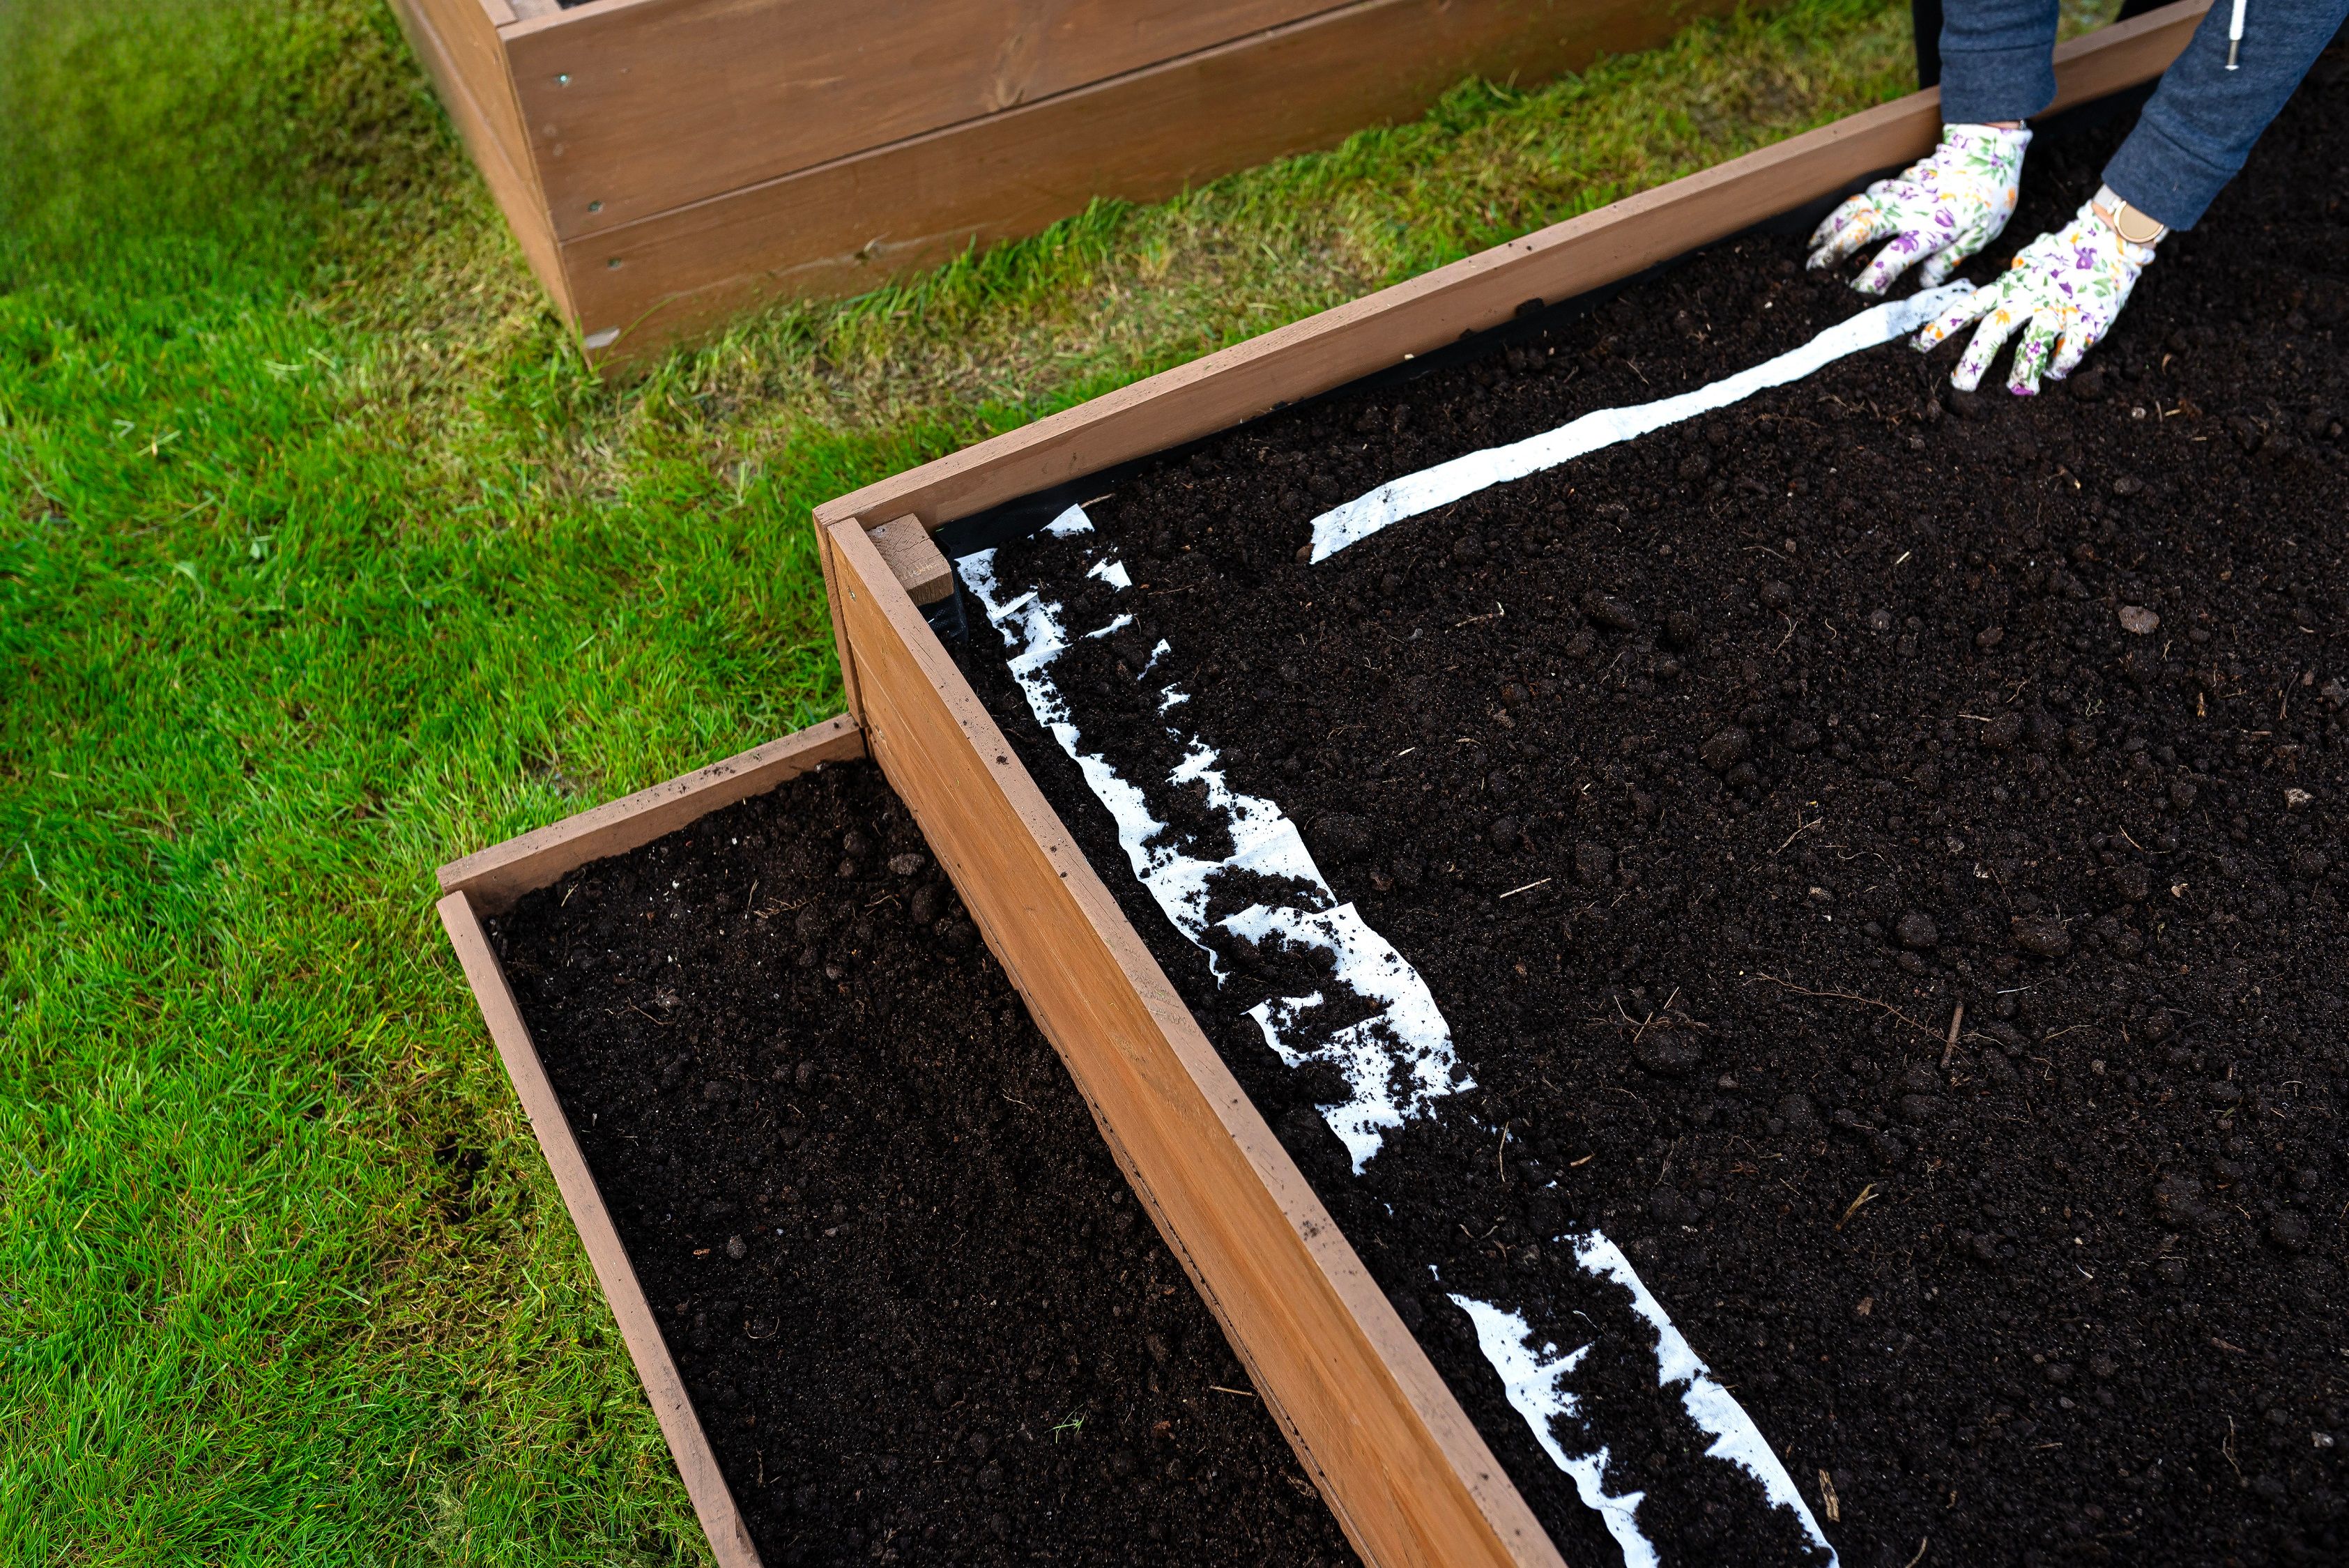
Make your own raised bed mix and add them to your beds. Compost, peat moss, dried grass, and coarse vermiculite can all be used to improve the drainage and nutrient content of your soil.
Finishing Off Your Raised Bed Garden
After a few days, you may find that the sides of the beds are not perfectly level or that they are inclined a little. Do not panic; use a level to check if the sides are level, if not add dirt, wood, or some other suitable materials to elevate the sides and maintain their level.
Now that your beds have been leveled and filled with rich soil you are ready to plant herbs, fruits, flowers, or vegetables of your choice.
